 How would you feel if you manage to capture just the perfect rare shot of sunset at the beach, after hours of intensive labor, and seconds after sharing it on social media, you find someone else sharing the same, claiming to have captured it? Annoyed? Agitated? Offended? Of course! Taking a perfect picture is no easy task! & nobody would want others to take credit for their work just like that! But in a world where sharing a photo is just a matter of clicks, it’s better to be safe than sorry.
How to Protect Images by Adding Watermark Android App
What you could do to avoid getting in such situations & to protect your photographs/images from copyright infringement, merely is put a watermark on it. Don’t know how to do it? Don’t worry, we have got you covered! No, you don’t need to install & learn any complicated software as you may be thinking. Add Watermark Free, is a free android app using which you can easily and quickly achieve your purpose. How? Let’s see!
1. Go to Google Play store and download this handy & user-friendly app.

2. Once downloaded, launch it. You’ll be prompted to a screen that guides you about the functions of basic signs, followed by the Homepage (asking you to select a source image).
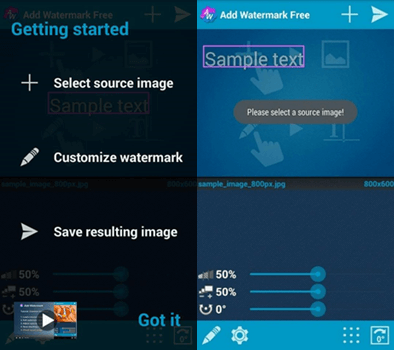
3. Tap on the plus sign on the top right, to select the image you want to add the watermark. Now if you click on the bottom-left pencil-shaped sign, you will get the options for the types of watermark you can add and many options to customize your chosen watermark.
4. Adding Watermark options: You have two options- You can either add a ‘text’ or an ‘image’ watermark to your selected image
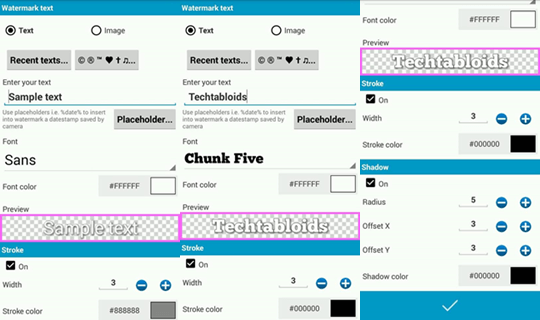
a) Adding Text Watermark
If you select the ‘text’ option, you need to enter the text you want in place of “sample text.”
and then you make any desired changes, e.g., you can select your desired FONT and FONT COLOUR, and You can change the stroke color, add shadow and even use placeholders.
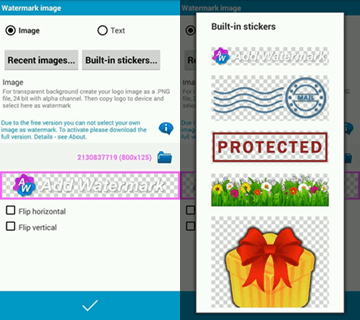
b) Adding image watermark
If you select the ‘image’ option, you need to choose from recent images or built-in stickers. But the free version allows the usage of built-in stickers only. Hence you can select one from the options.
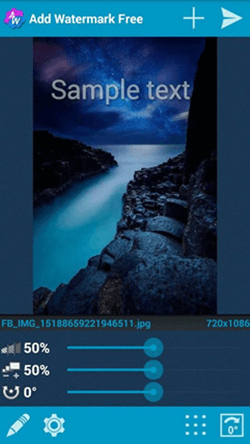
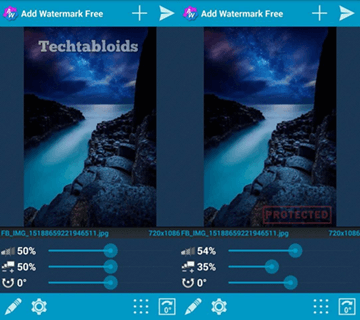
5. After you have added the watermark, this is how your Image with your desired watermark looks like. In both cases, you can see there are three sliders at the bottom, which you can be used to adjust the Transparency, Size and position/rotation of the watermark.
6. Now, If you are done with the customization, you can proceed to save your resulting image by tapping on the arrow sign on the top right. You just have to specify the destination folder where you want to keep the target image and choose an Image name, and you are done!

As simple and easy as it was, now, that you have a watermark on your image, you can share it where ever you want to, without the need to worry about other people misrepresenting it as theirs!
For latest updates and tech news do follow our Facebook, Twitter and Google Plus pages. For your feedback do write to us in comments below


Speak Your Mind